
|
|
For these first few stages, you'll be working with a LEGO Spike Essential kit. This is the less advanced version of LEGO Spike.
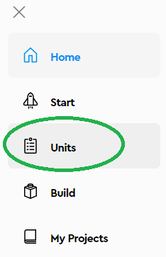
On the main screen of the software, click 'Spike Essential' and then click 'Units'.
On the main screen of the software, click 'Spike Essential' and then click 'Units'.
|
|
|
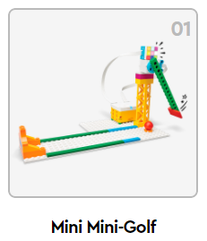
Click 'Crazy Carnival Games' and then 'Mini Mini-Golf'. The software provides step-by-step instructions that will walk you through exactly how to build this model. Then, when you're finished making it, you'll be brought to a coding area so you can write code for the model and make it do something.

|
|
|
|
KEY THINGS TO ACCOMPLISH:
|


|
Show Mr. Locke that you have successfully completed this stage and then you can move on to the next one. |

